XenDesktop-RemotePC-DeliveryGroup
Jump To: Support > KB > Citrix > XenDesktop > RemotePC > DeliveryGroup
Configuring your virtual desktop site for Remote PC access
A Remote PC machine catalog (a list of machines) is linked to a delivery group (which makes the desktops available to your end-users). As Remote PC is usually used for people's personal workstations, you will tend to assign a single user to a specific PC. To make this easier, a delivery group associated with a machine catalog of type Remote PC can automatically assign a user to a PC when they log onto it (at the machine itself) if that PC is not yet assigned to anyone else.
Creating the Machine Catalog
- Open Citrix Studio
- Click on Machine Catalogs and search for a catalog which has a type of Single-session OS (Remote PC Access):

- If you have a 'Single-session OS (Remote PC Access)'' machine catalog already, you should follow the add additional machines instructions
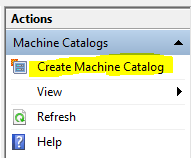
- Click on Create Machine Catalog on the right:
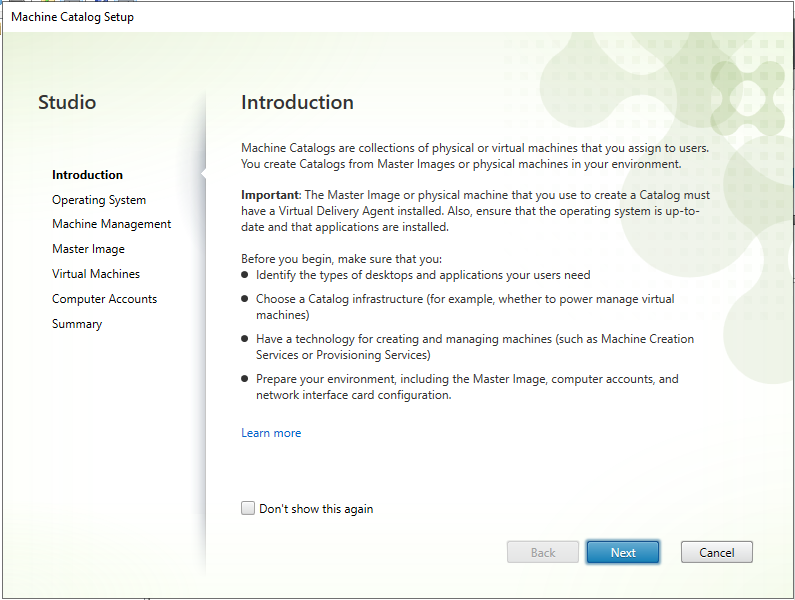
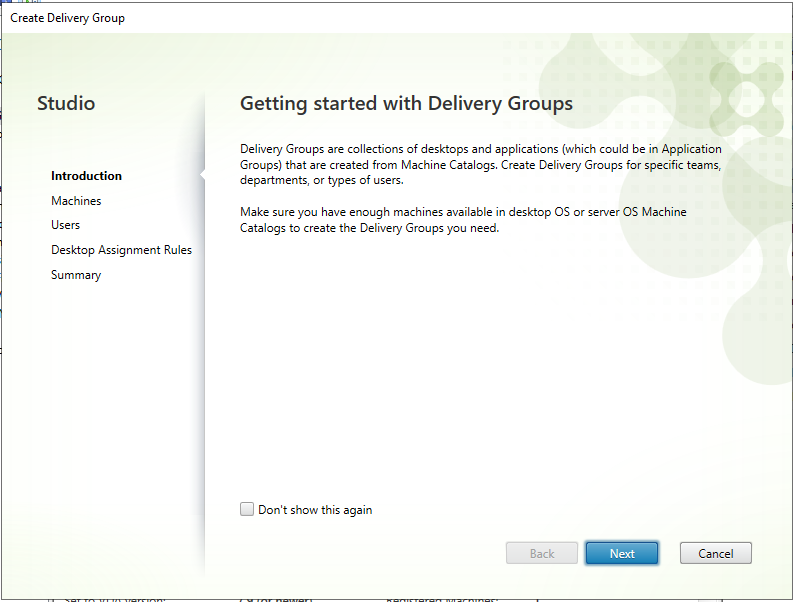
- Click through the welcome page (you may not see this if you have previously ticked the Don't show this again box:
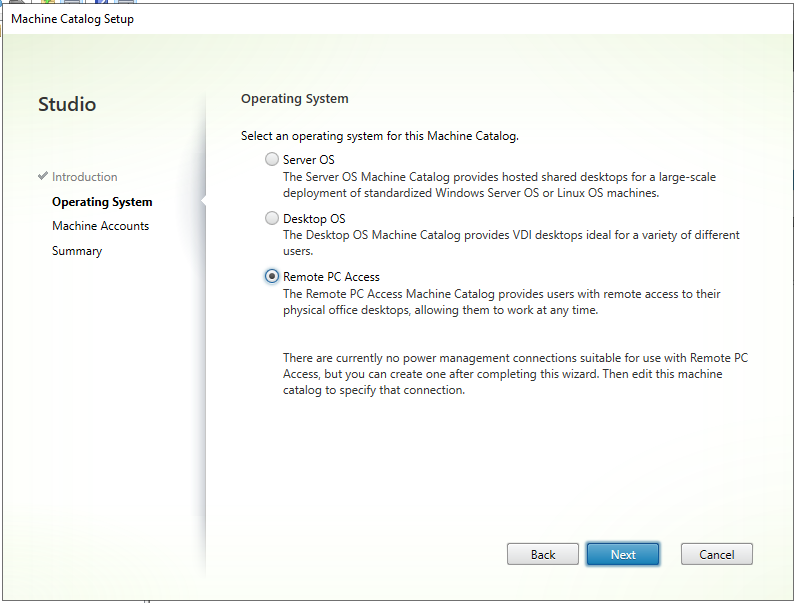
- Pick Remote PC Access and click Next:
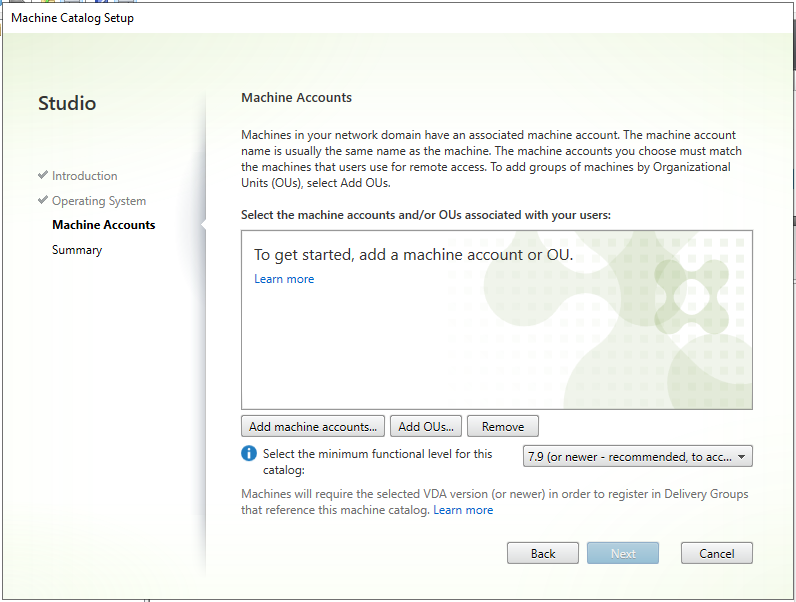
- You are now required to add at least one machine account (note, you can delete the machine from the machine catalog immediately after creating it). To add machines from an OU within Active Directory click on Add OUs... and browse. If you want to add computers from a CSV file, you will need to create one account manually first before following the add additional machines instructions below. To add individual computers, click on Add machine accounts... to open the Select Computers window.:
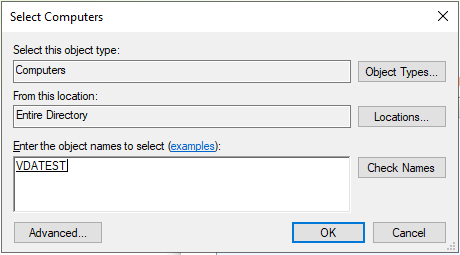
- On the Select Computers window, enter the name of the computer you want to add and click on Check Names. The computer name should underline, so click OK:
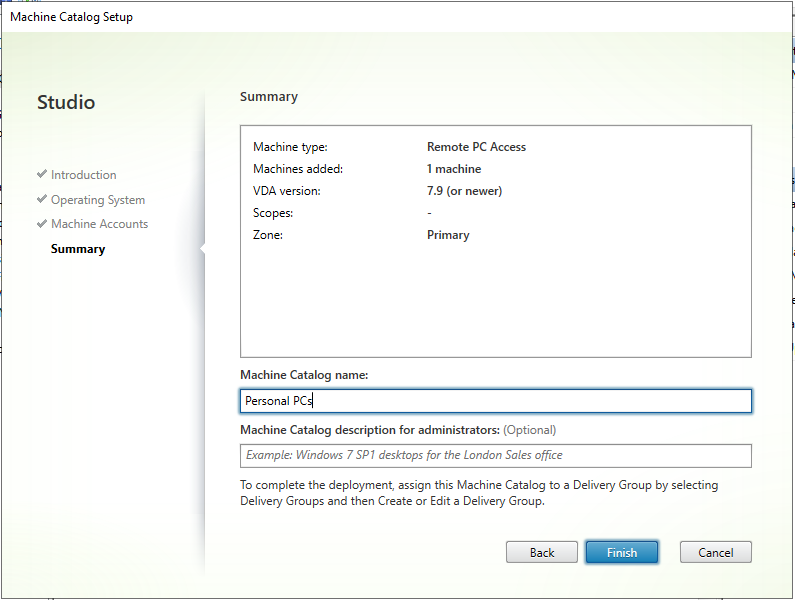
- Repeat adding OUs or machines and click Next when you have finished
- Enter a name for the machine catalog (e.g. Personal PCs) and click Finish:
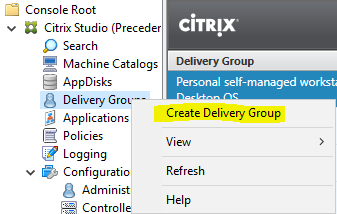
- You will now need to create a delivery group. Right-click on Delivery Groups and select Create Delivery Group:
- Click through the welcome page (if you see it):
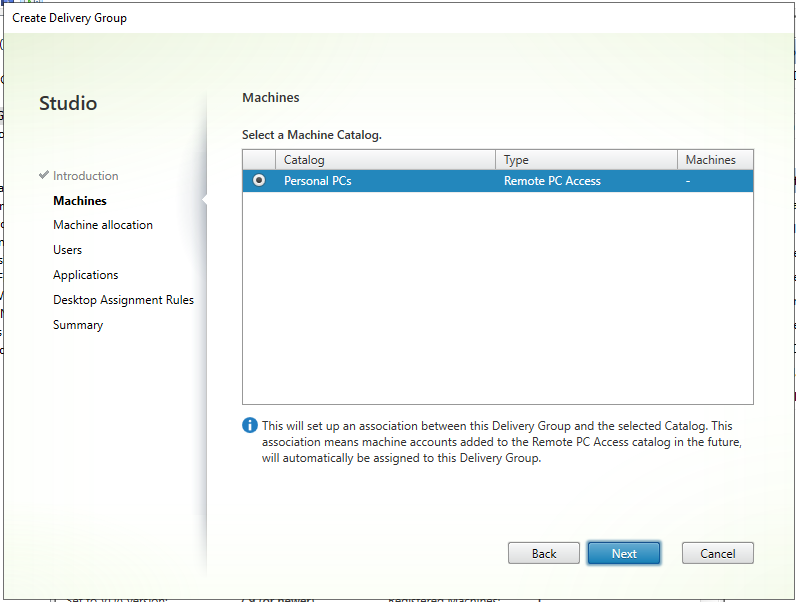
- The newly created machine catalog should be present and highlighted. Click Next:
- For security, you should restrict the users/groups that can use the Remote PC delivery group by selecting Restrict use of this delivery Group to the following users:
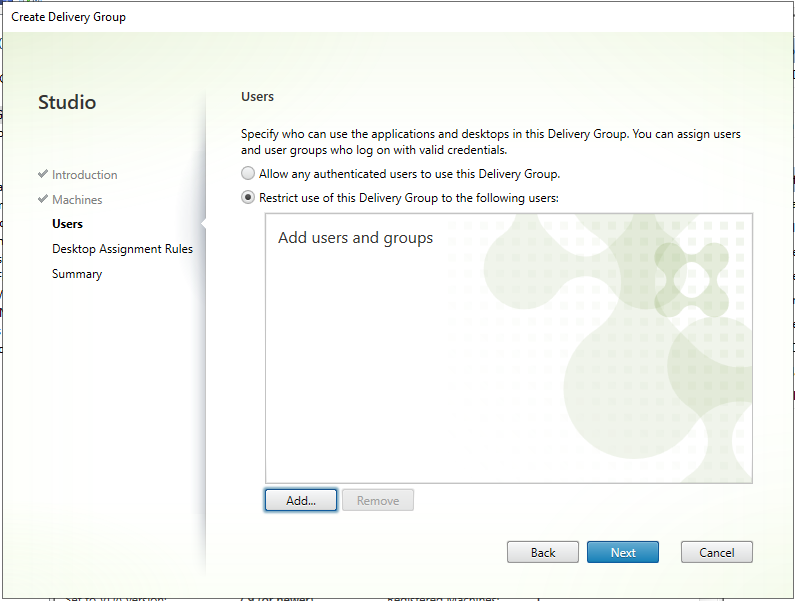
- You can then click Add...' to add your chosen users and groups:
- After you have added all users/groups, click on Next to get to the Desktop Assignment Rules page. This page allows you to set which users and groups will be automatically assigned a desktop. If you want to manually assign each PC to a user yourself, you can just click on Next. To use automatically assigning, click on Add... to define the list of users and groups. Enter a display name; normally this is what you would see in Receiver for this desktop, but when using auto-assigning, the name of the machine is used instead:
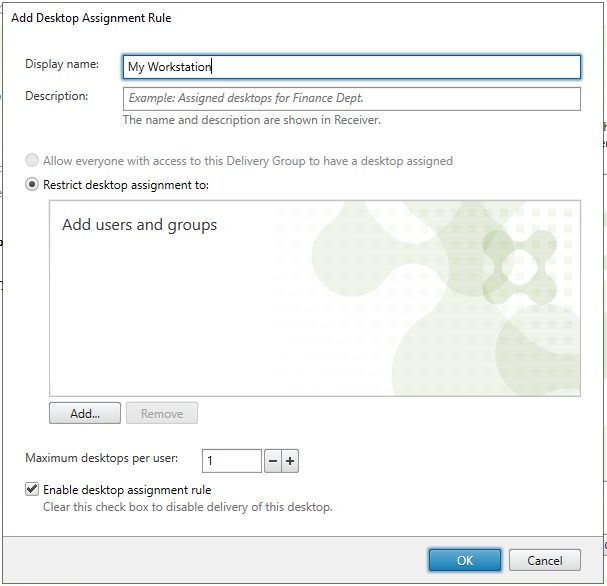
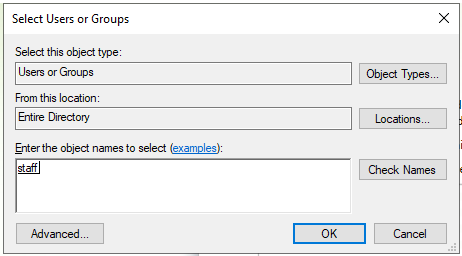
- When you click on Add...', the Select Users or Groups window will open. Enter user or group names and click Check Names'', then OK. Repeat as desired:
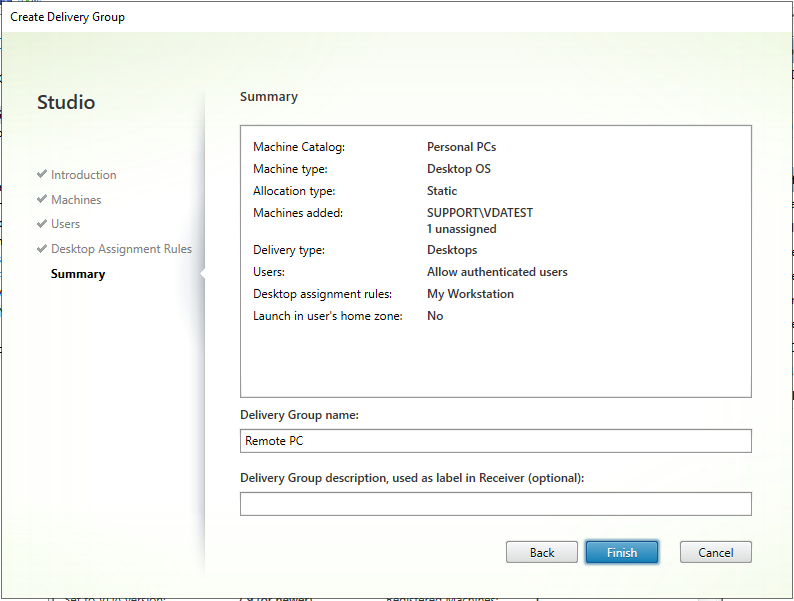
- When you have finished entering your users/group, click Next to get to the summary page. Enter a name for the delivery group and click Finish:
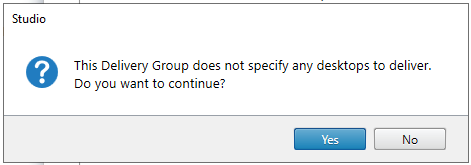
- If you did not define any desktop assignment rules earlier, you will see a warning. Click Yes to continue: