


Jump To: Support > KB > ThinIT > PVS > Display
Dual-output graphics options on AtomIQx2
On an AtomIQx2, the default graphics behaviour is to clone the desktop between the VGA and DVI ports. The DVI port has a maximum resolution of 1024x768, so while you stay in clone mode that will be your maximum resolution even with just a VGA monitor attached.
If DVI is disabled, then the AtomIQx2 will behave the same as the AtomIQx1 meaning that VGA will auto-detect and the 1024x768 limit will not apply. For details on disabling VDI, click here.
If you want to use both outputs, our supported 64-bit AtomIQx1/x2 vDisk includes tools to automatically set the resolution and output type upon first login. The resolution and output type can be configured on a machine-by-machine basis using personality strings within Provisioning Services.
To set the display type manually, click here.
Automatically altering resolution and output type
A script called intelres.vbs is installed in C:\Windows. This is run automatically when a user logs on. Its default behaviour is to switch the display to single output (VGA only) with a resolution of 1024x768.
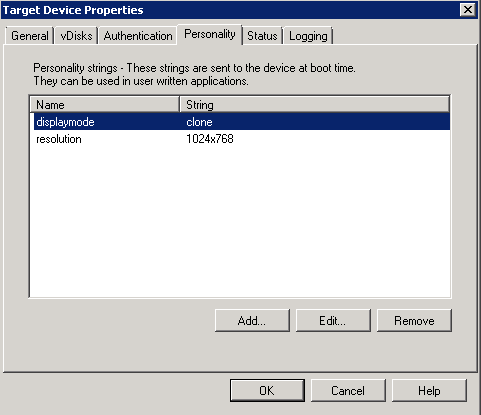
You can customise the outputs by setting the following Provisiong Services personality strings
displaymode= set to clone, single or extend. Defaults to single if not setresolution= set to resolution with horizonal and vertical separated by 'x' with no spaces, e.g.1280x1024. Defaults to 1024x768 if not setdisplayverbose= set to y to have pop-up windows explaining what is going on (for debugging purposes)
Here's a screenshot of example personality settings:
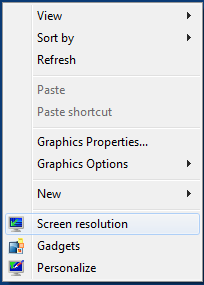
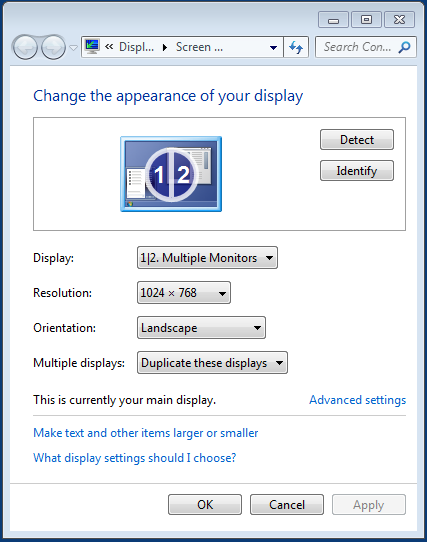
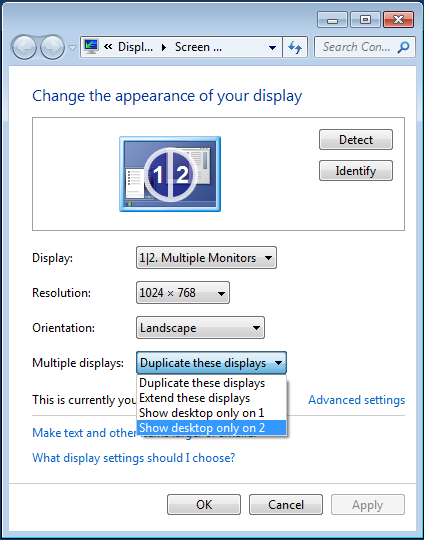
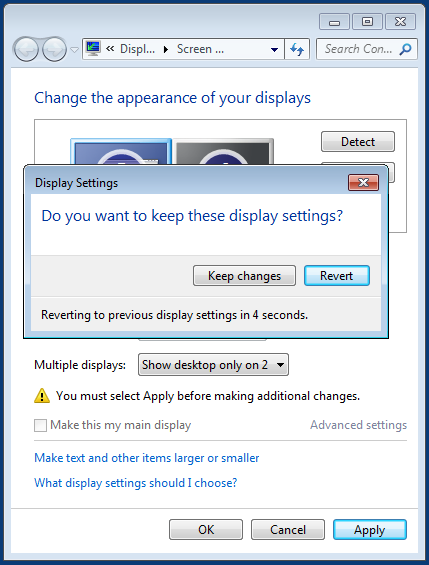
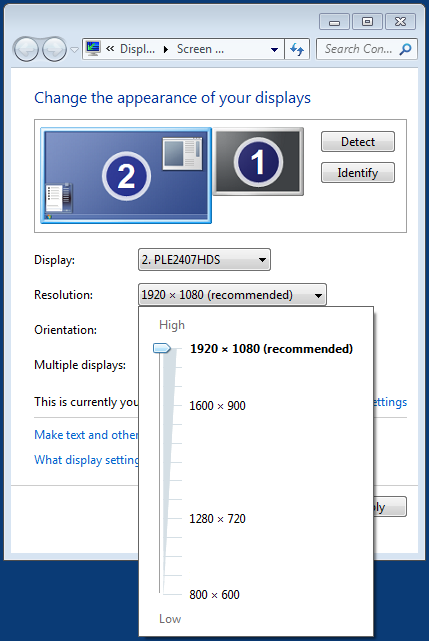
Manually altering resolution and output type
Disabling and enabling DVI
If DVI is disabled, full auto-detection will take place on the VGA output giving you the optimal resolution.
Here are the steps to disable/enable DVI:
- As the machine boots, press the Delete key
- In the
BIOS SETUP UTILITY, press the right-arrow key to select Chipset - North Bridge Configuration will be highlighted in white, press Return to select
- Press down-arrow until Video Function Configuration is highlighted in white and press Return to select
- Press down-arrow until DVI SUPPORT is highlighted in white and press Return to select
- Pick Enabled or Disabled from the menu as appropriate with the up and down arrow keys and return Return when your desired option is highlighted in white
- Press F10 and then press Return when asked Save configuration changes and exit setup?