


Jump To: Support > KB > Microsoft > Office365MFA
Office 365 Multi-factor authentication
Office 365 supports multi-factor authentication (MFA) for added security. This means as well as providing a username and password, you also need to provide an access code which is different every time. In general, two main options are used:
- A telephone number can be registered for a code to be sent to either by text message or automated call - you must have a phone signal for this to work
- An authenticator app (usually on a smart phone) can generate you a code that refreshes periodically. This will work even if you have no phone signal and does not require any data to be shared
Sign-in experience when MFA is enabled for the first time
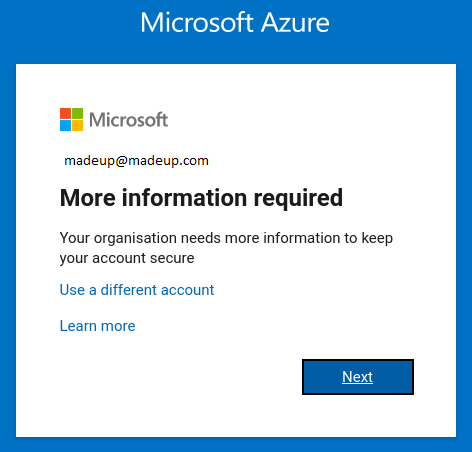
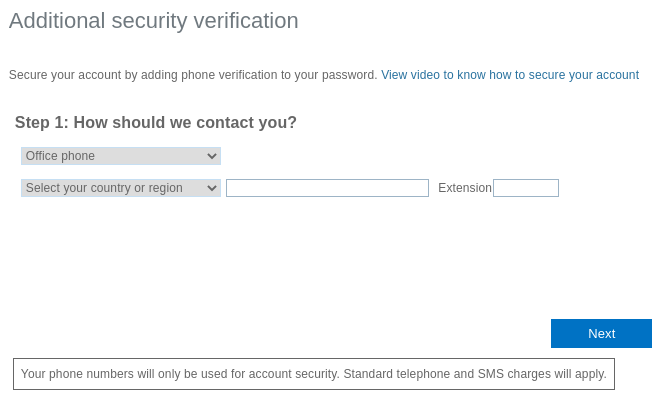
Once you have logged in you will be presented with the following page. Click Next to continue.
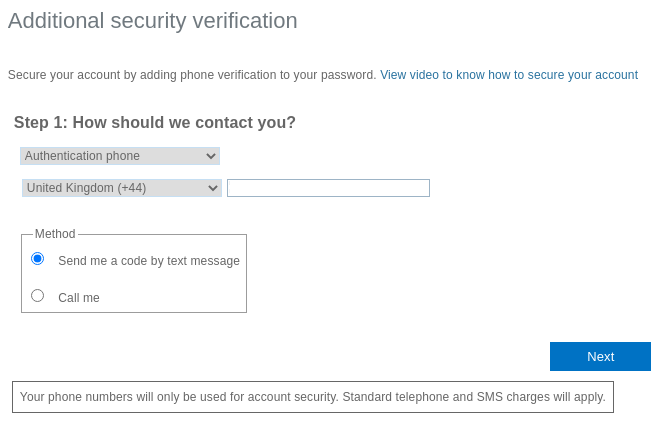
You will then be presented with a page which will allow you to choose which additional authentication method you would like to use. Your options are Authentication phone, Office Phone and Mobile app. Each option is documented below:
Options for Authentication phone:
If you choose this option, you can either choose to have a code texted to you via SMS or for an automated system to ring you with a code. You just need to select the correct Country code from the pull-down menu, enter your mobile phone number and choose whether to Send you a code by text message or Call me:
SMS setup
If you have chosen Send me a code by text message and clicked Next, you will see the following page asking you to enter the code which will have been sent to the mobile number you entered:
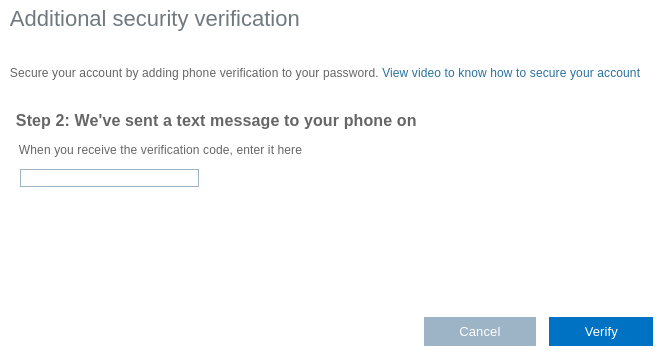
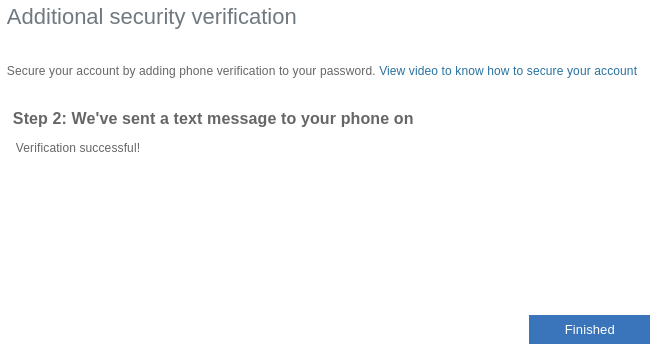
Enter the code and click Verify and, after a short delay, it should display Verification successful! and you can click on Finished:
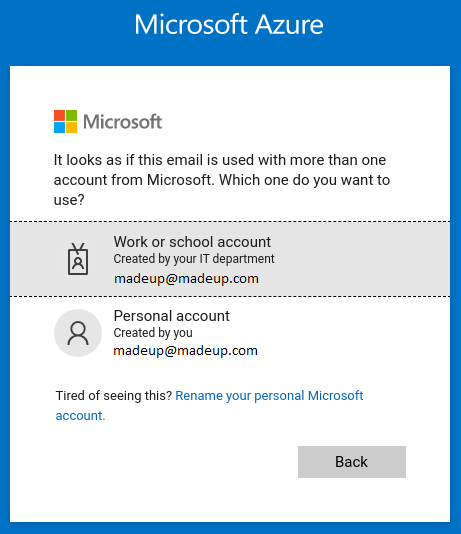
Next you get the regular prompt to choose between a work or personal account, if both exist. If you don't have both then you will skip to the Stay signed in page further below:
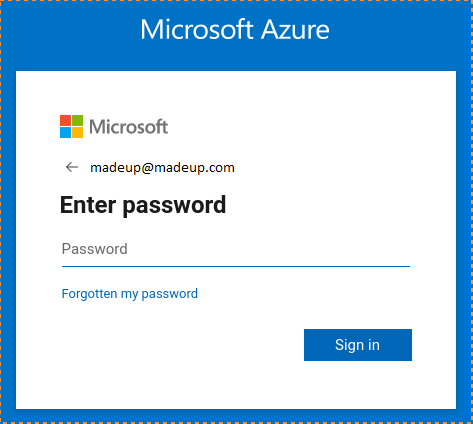
Once you have chosen the account, enter your password:
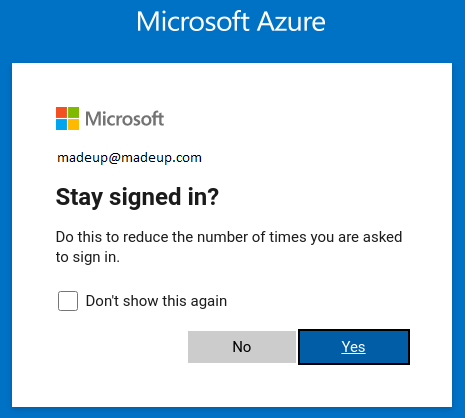
Select whether to stay signed in or not. If you choose to do this then you will remain logged in when using Office via the same web browser on the same computer until you manually log out. The MFA token will not be required for a period of time either.
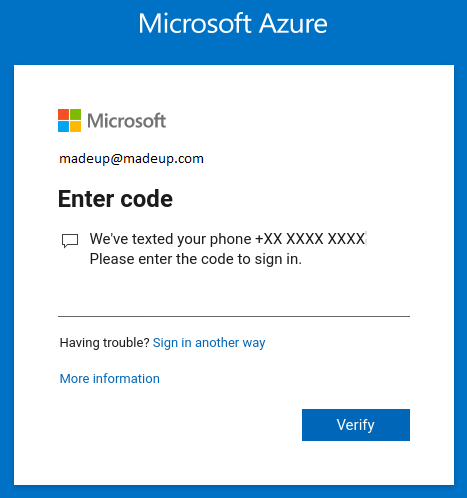
It may then text an additional code to the phone which must be verified:
You may then be asked again whether you wish to stay signed in or not as per the window above. Choose as you wish and you will then be logged in.
Call me
This option will call you with a code. With this option you just need to choose the Country code and enter your phone number. The rest of the procedure is as per the SMS option above.
Option for Office phone:
This option assumes a non-mobile phone and an automated system will call you with a code. With this option you just need to choose the Country code, enter your phone number and an extension number if you have one. The rest of the procedure is as per the SMS option above.
Option for Mobile app:
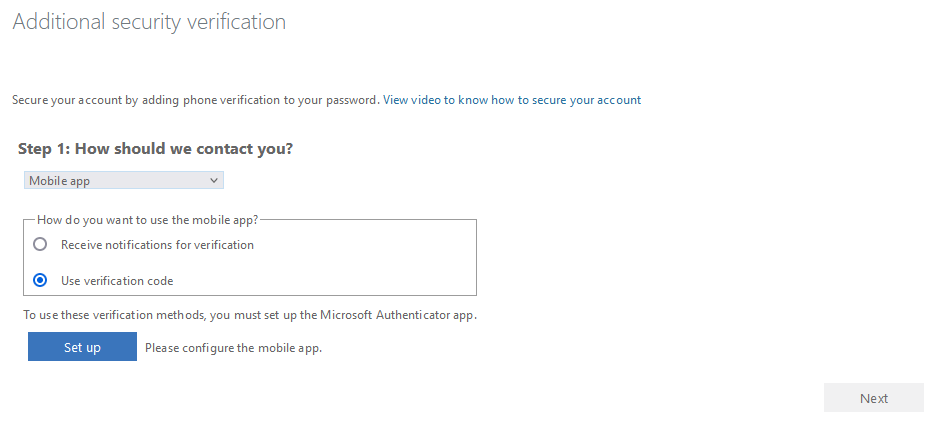
This option allows you to use an authenticator app to get your code. There are numerous authenticator apps available but for the purpose of this article, we have just documented using Microsoft's authenticator app (we also recommend Google Authenticator). You can choose to have the app Receive notifications for verification or to Use verification code:
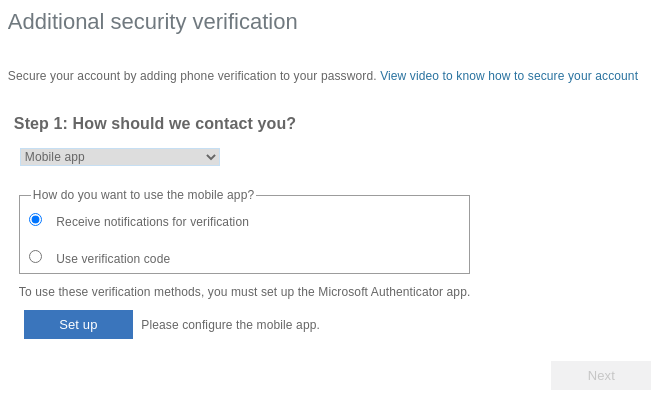
Do not choose to receive authenticator notifications if you want to use an authenticator that isn't a smartphone authenticator app.
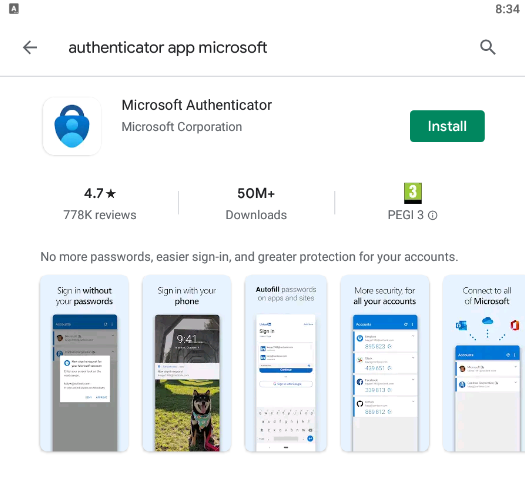
Installing the Authenticator app
1a) On the device you will use the Authenticator app, go to your app store and install the Microsoft Authenticator app. The screen shots on this page are from an Android based phone but the procedure and app should be the same for other mobile devices (e.g. you would get the app from the Apple store for an iPhone). The screens displayed within the app may vary very slightly on different phones but they will be very similar and do the same thing.
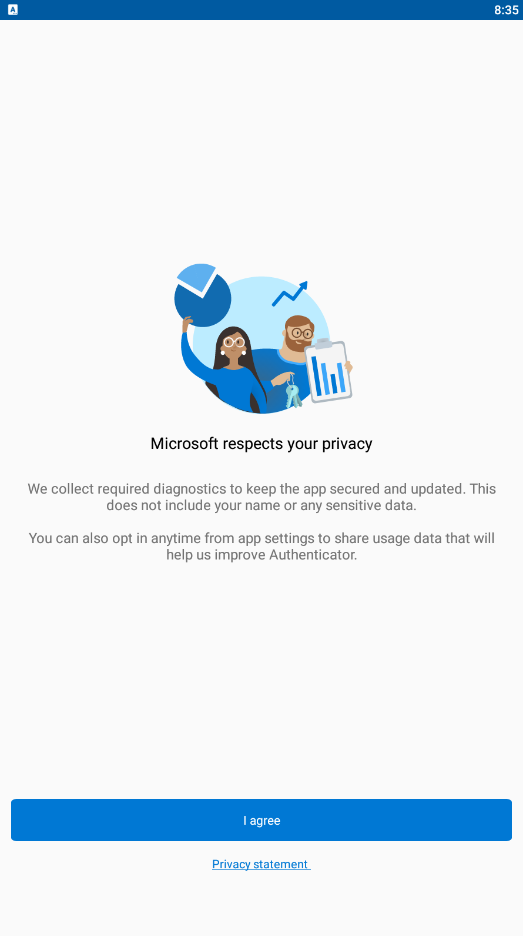
1b) Once installed, open the app and you will be presented with the Terms of Service page. Tap on "I agree".
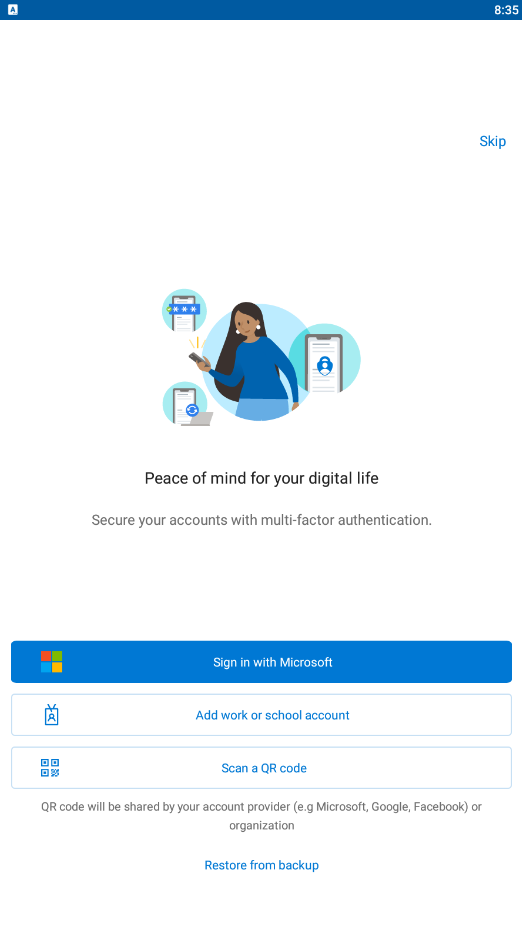
1c) The next page is an important step. You will need to tap on "Skip" in the top right as seen in the image below.
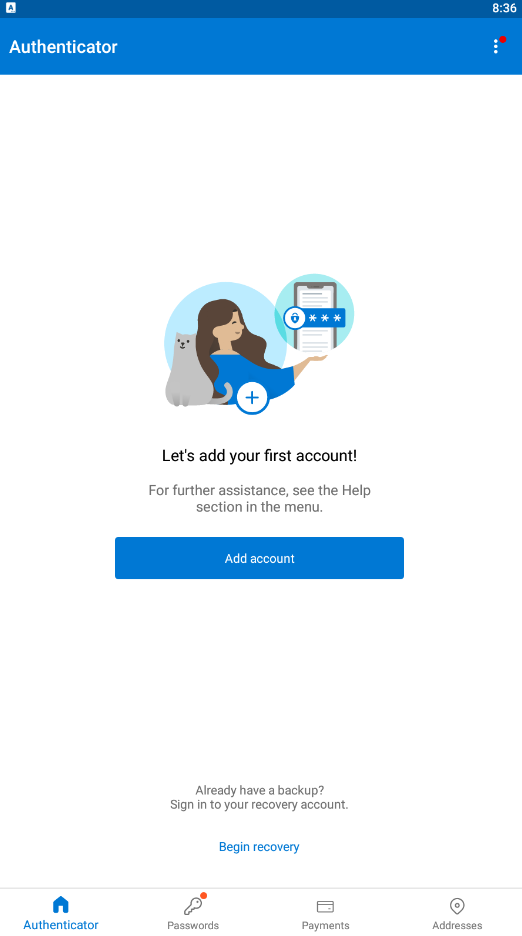
1d) You will then be presented with the landing page. This page will appear every time you open the app in the future, although it will display your accounts once configured.
Here in the guide is where the options split. If you wish to use the "Receive notifications for verification" option, follow that section of the guide below. If you wish to use the "verification code", follow that section of the guide further down the page.
Receive notifications for verification
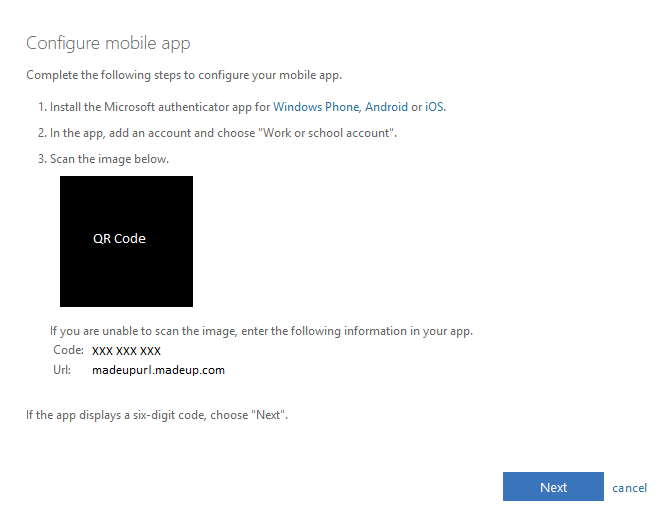
2a) After clicking on "Set up" on your PC, you will be sent to the following page. We will need this page later so keep it open.
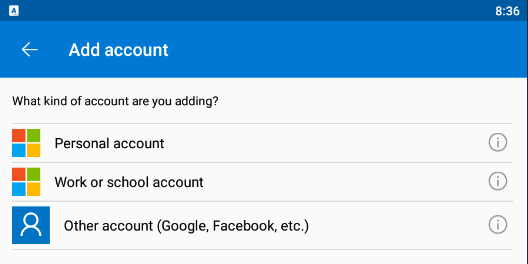
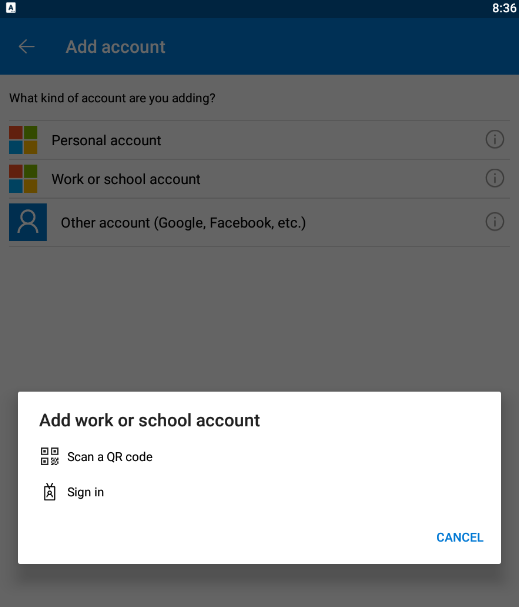
2b) On your device, from the home page of the Microsoft Authenticator app, tap "Add account". It will bring you to this page from which you need to choose 'Work or school account':
If you have a camera on your device
2c) Select Scan a QR code. Your phone may prompt you to allow the authenticator app access to use your camera at this point.
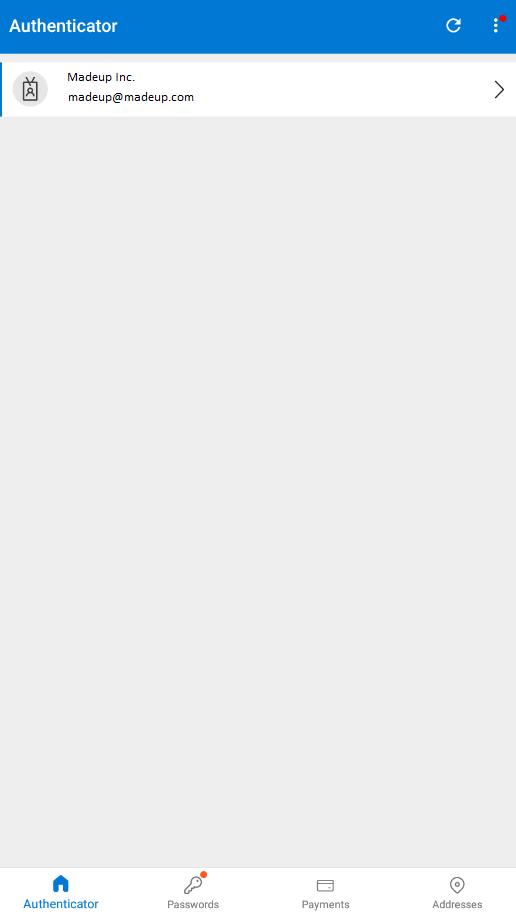
2d) When you have allowed access to the camera, you will need to use the page that you left open earlier on your PC and scan the QR code with your device. If you have done this successfully your device will return to the following page with the new account listed:
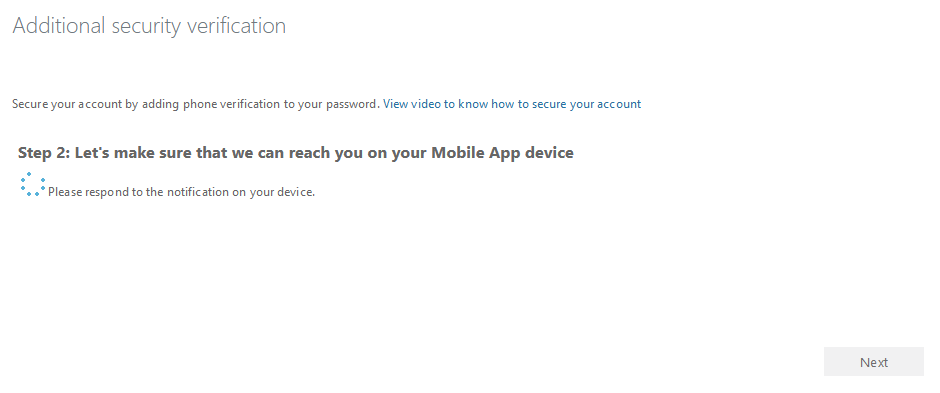
2e) Returning to your PC, click on Next on the page with the QR code shown which will close the window and return you to the 'Additional Security Verification' page. Click 'Next on this page as well and you will be taken to the following page:
2f) Back to your device, you will receive a prompt to approve the login. Tap on Approve:
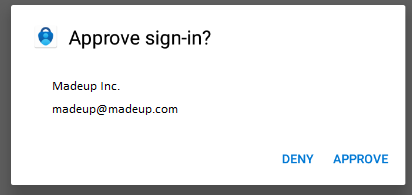
This prompt will appear every time you login to your account from a new device.
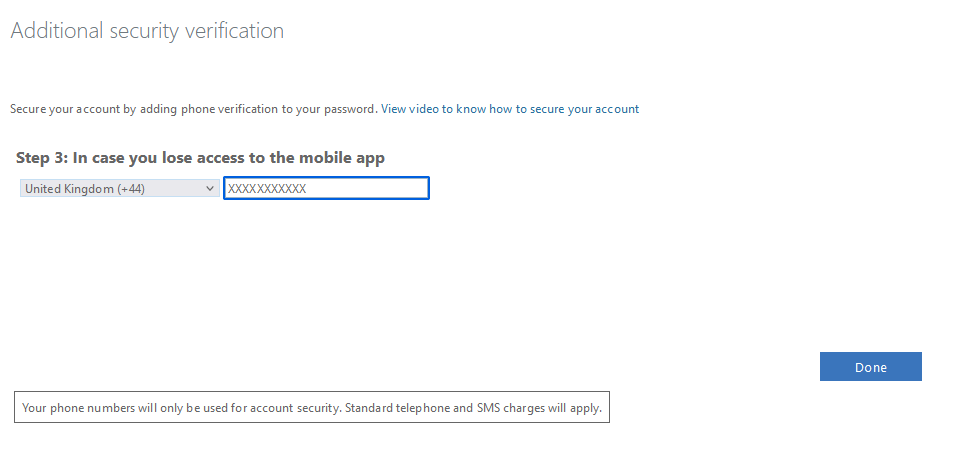
2g) Back on your PC, you will need to click on Next. You will will be asked to enter a mobile phone number for recovery. This is used in the event that you are unable to access your authenticator app for any reason. Once you have filled these details in, click on Done.
Note: You can completely skip this by clicking on Done without entering a phone number, though we recommend that you perform this step.
'That is MFA set-up on your account now. Each time you log in to a device that requires you to use MFA, you will receive a prompt on your phone and when you open it you will see the code you need to use.
If you do not have a camera on your device
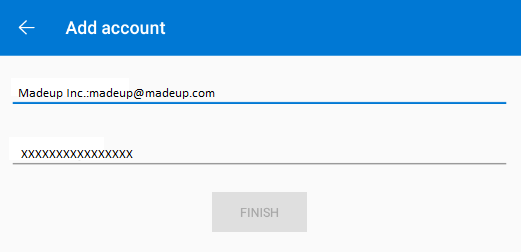
2h) From the add account page on your device (as per following screen shot), select Other account (this is much quicker and easier than going through the "School or work account" option).
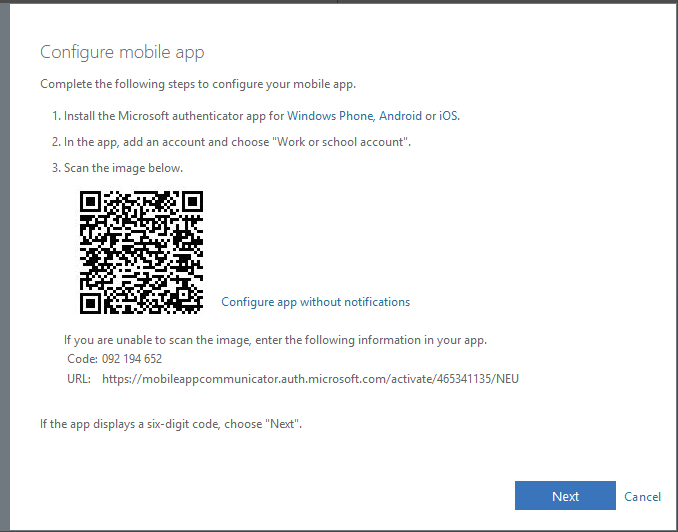
2i) On the following page you will need to enter the details as seen under the QR code in image 2a and tap Finish on your device.
After you have done this, refer back to 2e under the section for using your camera and continue from there to complete the process.
Use verification code
3a) Select "Use verification code" and then click "Set up":
3b) You will now be sent to the following page. Click on "Configure app without notifications". We will need this page later so keep it open.
If you have a camers on your device
3c) Select "Add account". You will be brought to the following page. From here, select 'Work or school account'
3d) Now select Scan a QR code as per the following screen shot. Your phone may prompt you to allow the authenticator app access to use your camera.
3e) Once you have allowed access to the camera, you will need to scan the QR code from the page that is open on your PC (see image 3b). If you have done this successfully your device will return to the following page with an added account:
3f) Returning to your PC, click on Next on the page with the QR code shown which will close the window and return you to the 'Additional Security Verification' page. Click 'Next on this page as well and you will be taken to the following page:
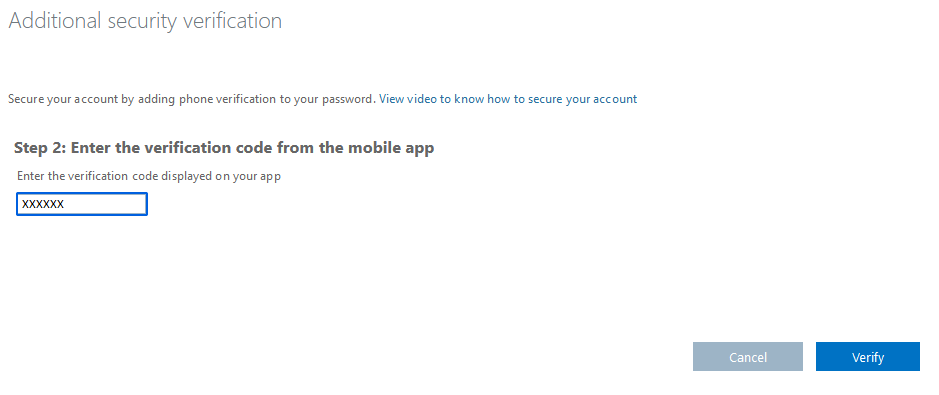
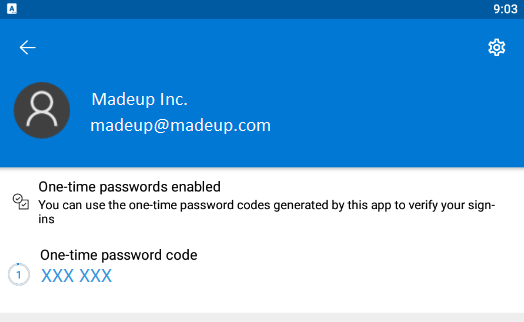
3g) On your device, tap on your account and you will be brought to the following page. The code on this page will change every 30 seconds. Enter the code that is displayed into the box promptiong for it on the PC. Then click "Verify" (the code entered on the PC must be the most recent one so if it changes half way through typing it, use the new code):
3h) You will then be asked to enter a mobile number for recovery. This is used if you are unable to access your Authenticator App for any reason. Once you have filled it in click on Done.
Note: You can completely skip this by clicking on Done without entering a phone number, though we recommend that you perform this step.
MFA is now set up on your account. You do not need to follow the rest of this guide.
If you do not have a camers on your device
3i) From the add account page on your device (as per following screen shot), select Other account (this is much quicker and easier than going through the "School or work account" option).
3j) On the following page you will need to enter the details as seen under the QR code in 3b. Then tap Finish.
3l) After you have done this, refer back to 3f under the section for using your camera and continue from there to complete the process.