Jump To: Support > KB > NetManager > Micro5HDD
Adding a 5th drive to a Micro Backup Server
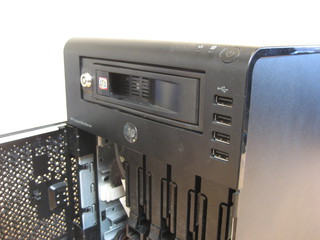
Open front door:
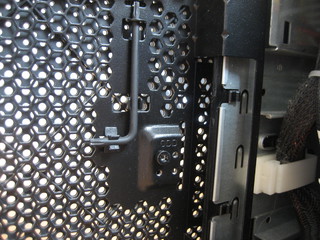
On inside of front door, there are 4 screws marked O.D.D. plus a tool for removing/fitting them:
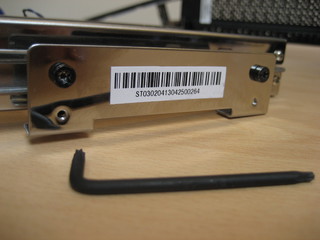
Remove the 4 screws and fit to the upper holes in the caddy:
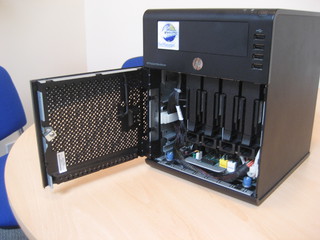
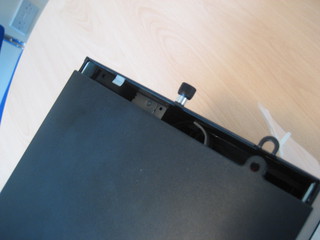
Unscrew fingerscrew at back of case and slide top forward:
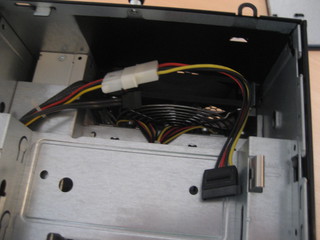
Feed SATA data lead through rectangular tunnel on left (grey cable in this photo):
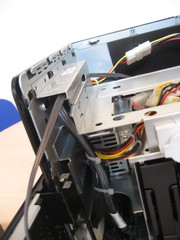
Ensuring that the plug is in the right orientation, reach under the main hard drive tray at the front and plug the SATA data lead into the port 1m to the right of the upright battery and behind the white connector:
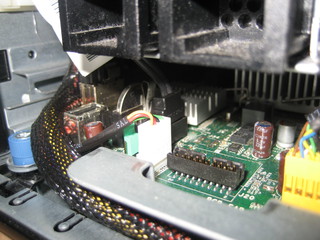
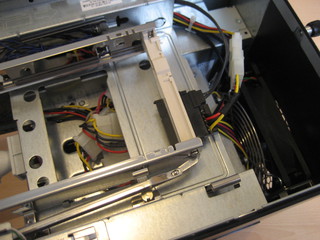
Pull slack cable through from top so that cable is neat:
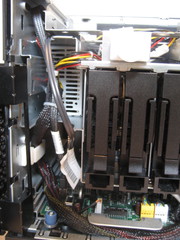
Attach SATA power converter to a loose power lead:
Engage drive caddy with slots at front and slide back halfway. Attach SATA power and data connectors:
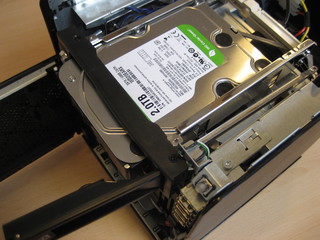
Push caddy all the way back until the clip at the right of the caddy towards the rear clips into place. Tidy up any slack on the leads so that the lid will be able to slide back on later. Open the front of the caddy and fit the 5th drive:
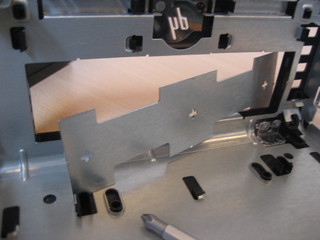
Poke out black blanking place from lid from behind:
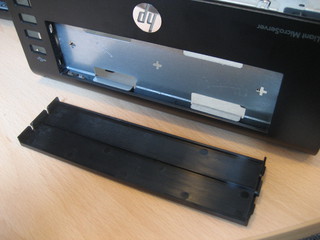
Using a screwdriver, bend the metal blanking plate back and forth at the sides and top/bottom edges until it snaps out:
Carefully slide cover back on and tighten up the thumbwheel at the rear: