


XenServer-ClientID
Jump To: Support > KB > Citrix > XenServer > ClientID
Setting up a Client ID for XenCenter
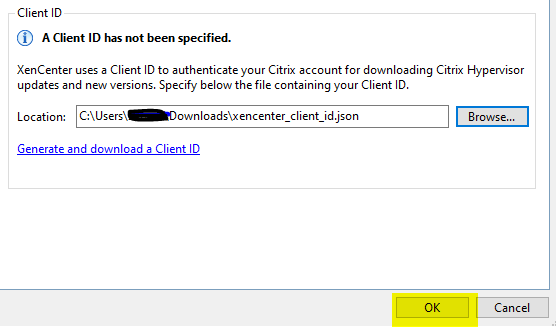
Beginning with version 8.2.4 of XenCenter, you must provide a Client ID authenticating your Citrix account in order to apply updates through the XenCenter GUI. This is the case even if you have already manually downloaded the updates after logging into your Citrix account. The first time you attempt to apply an update you will see: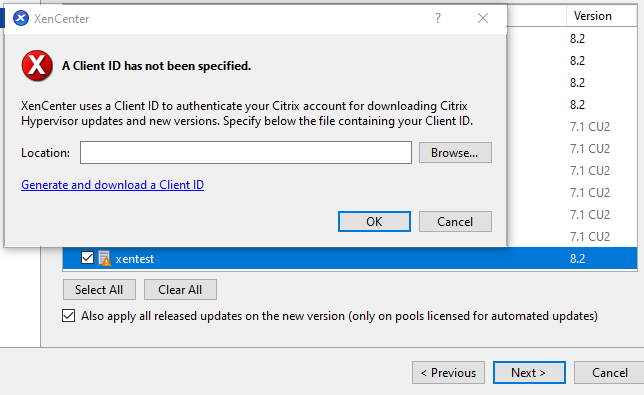
To generate a Client ID file:
- Browse to https://support.citrix.com/xencenterclientiddownload or click on the Generate and download a Client ID link from the XenCenter windows
- You will be asked to log into your Citrix account
- After successfully logging in, you will see the Download page:
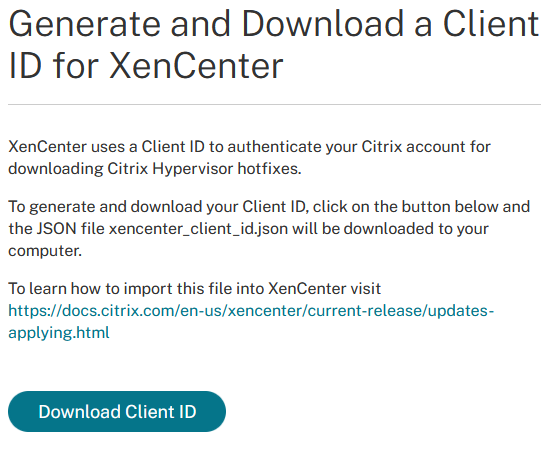
- Click on Download Client ID which will save out a file called
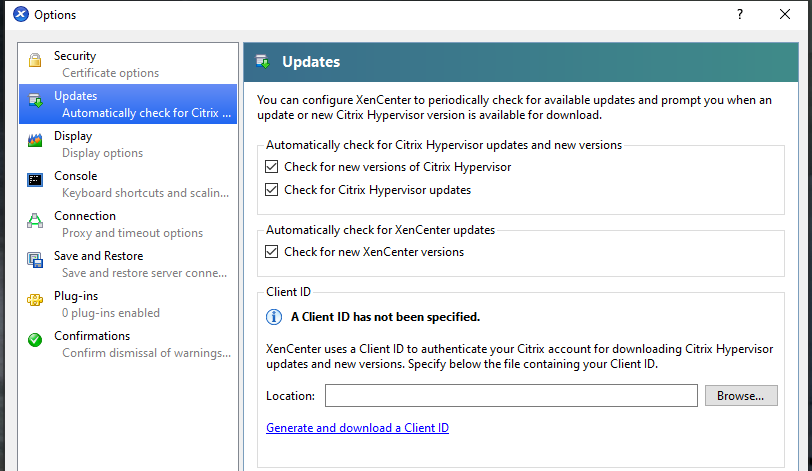
xencenter_client_id.json. Your browser may download it straight to your Downloads folder without asking - Go back to XenCenter and click the Browse... button on the window declaring A Client ID has not been specified. If the window has closed, click on the Tools menu and pick Options. Then select the Updates section on the left:
- After clicking Browse..., locate the
xencenter_client_id.jsonfile you downloaded earlier. It may well be in your Downloads folder: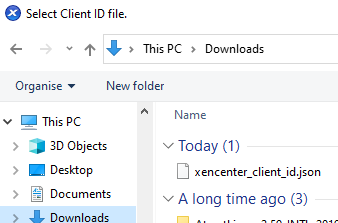
- When you have located and chosen the file, click OK:
- You may now apply updates through XenCenter